


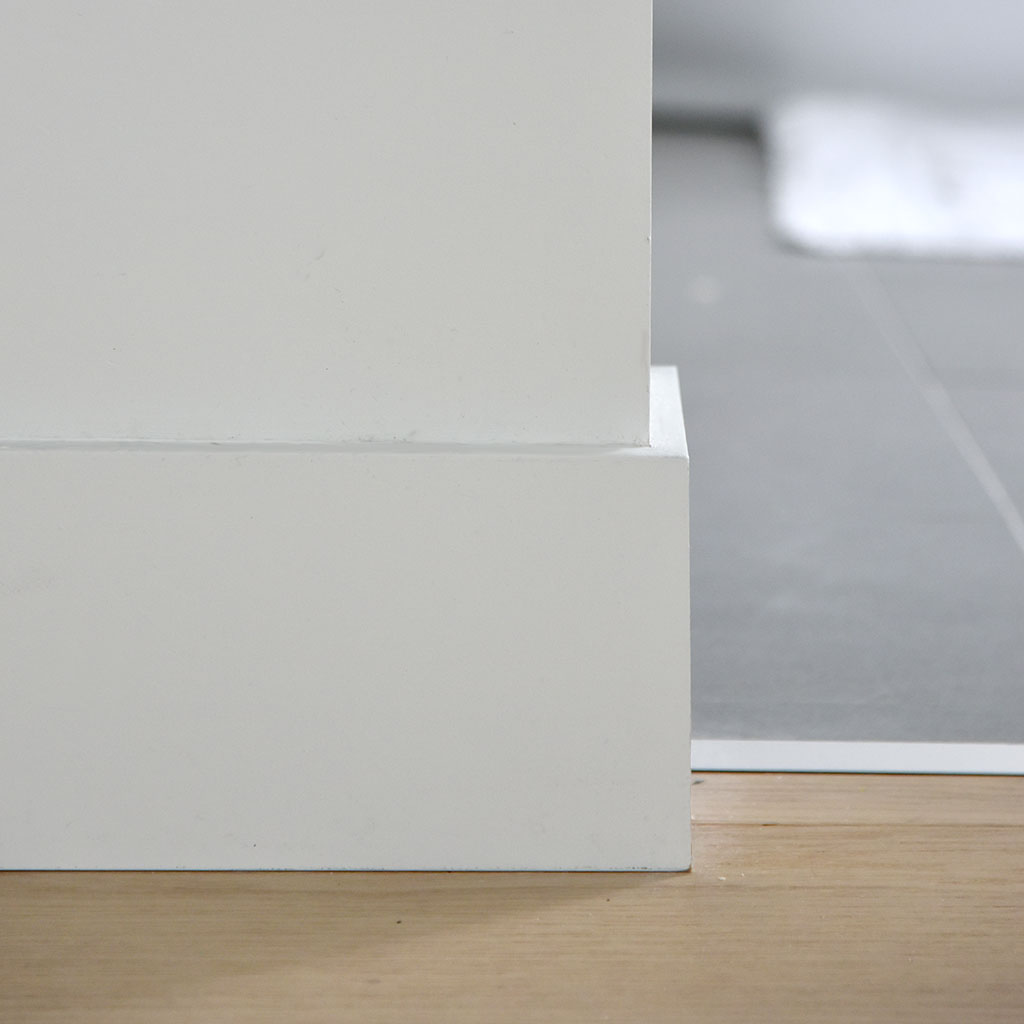
Baseboards are a type of trim that covers the joint between the floor and walls. Here is a step-by-step guide for installing baseboards:
- Measure the walls: Measure the length of each wall where you will be installing baseboards. Add 10% to this measurement to account for any mistakes or extra cuts.
- Cut the baseboards: Use a miter saw to cut the baseboards to the correct length and angle. Cut each piece slightly longer than needed, so you can trim it down later.
- Install the first piece: Start at a corner of the room and nail the first piece of baseboard to the wall. Use a level to ensure that it is straight.
- Install the next piece: Continue nailing the baseboard to the wall, making sure that each piece is level and flush with the previous piece.
- Cut the baseboard to fit: If the baseboard needs to fit around corners or obstacles, use a coping saw to cut it to fit. Be sure to label each piece to avoid confusion.
- Fill gaps: Use wood filler to fill any gaps between the baseboard and the wall or floor.
- Sand the baseboards: Use sandpaper to smooth out any rough edges or imperfections in the baseboards.
- Paint or stain: Once the baseboards are installed and sanded, prime and paint or stain them to finish the look.
Remember, proper measuring and cutting are essential for a professional-looking baseboard installation. Take your time and be precise.