


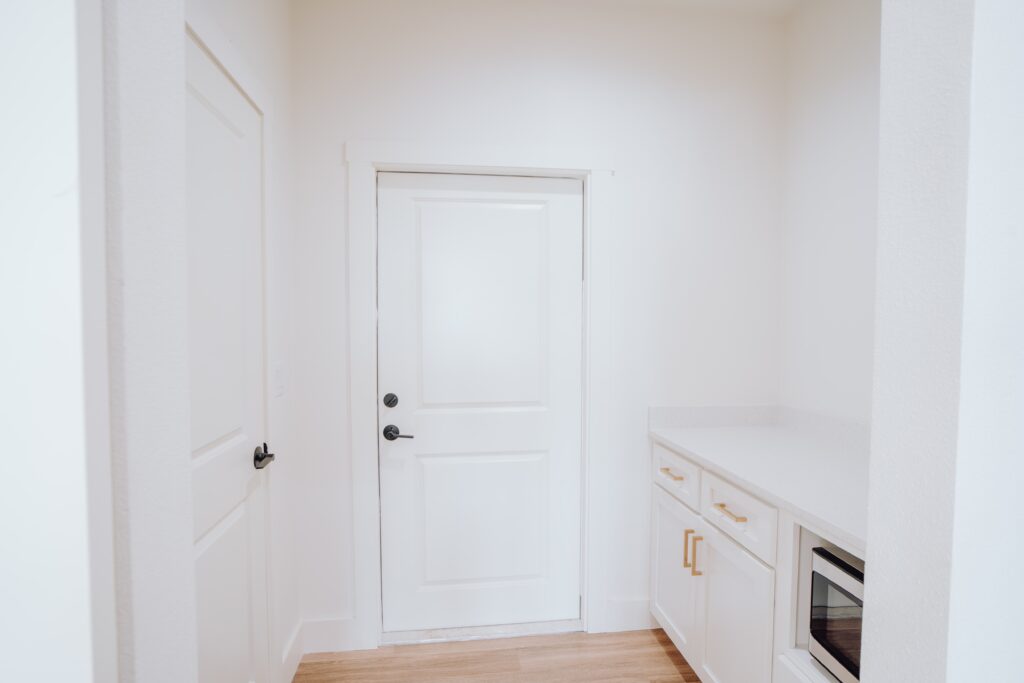
Installing interior doors is a crucial step in the process of renovating or building a new home. Doors not only provide privacy and security, but they can also add aesthetic value to your home. If you’re planning to install interior doors, you want to make sure you do it right the first time. In this article, we’ll take you through the process of installing interior doors step-by-step, ensuring you have all the necessary information to complete the job successfully.
Step 1: Gather Your Tools and Materials
Before you begin installing your new interior door, you’ll need to gather the necessary tools and materials. Here’s what you’ll need:
- A new interior door
- A measuring tape
- A saw
- Sandpaper
- A hammer
- Nails or screws
- A screwdriver
- A level
- Wood shims
- Paint or stain (optional)
Step 2: Measure and Cut the Door
The first step in the installation process is to measure and cut the new door to fit the frame. Begin by measuring the width and height of the door frame, taking into account any trim or molding that may be present.
Next, use a saw to trim the door to the correct size. Sand the edges of the door to smooth any rough spots or splinters.
Step 3: Install the Hinges
Once you’ve cut the door to size, it’s time to install the hinges. Place the door on a flat surface and use a level to ensure that it’s even. Then, attach the hinges to the door using screws.
Next, hold the door up to the frame and mark the location of the hinge plates on the frame. Use a chisel to carve out a small indentation in the frame where the hinge plates will be inserted.
Attach the hinge plates to the frame using screws, making sure they are flush with the surface of the frame.
Step 4: Hang the Door
With the hinges and hinge plates in place, it’s time to hang the door. Lift the door into place, making sure the hinges line up with the hinge plates on the frame. Use wood shims to adjust the fit if necessary, ensuring that the door is level and even.
Once the door is in place, attach the hinges to the hinge plates on the frame using screws.
Step 5: Add Finishing Touches
Finally, it’s time to add the finishing touches to your newly installed interior door. If desired, you can paint or stain the door to match the rest of the room. You can also add trim or molding around the door to give it a more polished look.
FAQs:
Q. How long does it take to install an interior door? A. The process of installing an interior door typically takes a few hours to complete.
Q. Do I need any special tools to install an interior door? A. While you don’t need any special tools, you will need a saw, hammer, nails or screws, a screwdriver, and wood shims to complete the installation process.
Q. Can I install an interior door myself, or should I hire a professional? A. If you have experience with DIY projects and feel comfortable using power tools, you can likely install an interior door yourself. However, if you’re not confident in your skills, it’s always a good idea to hire a professional to ensure that the installation is done correctly and safely.
Q. How do I know if the door is level? A. Use a level to check if the door is even. Place the level on top of the door and adjust the shims as needed to ensure that the door is level.